When it comes to gym gear, few items spark as much debate as the weightlifting belt. You’ll see powerlifters, bodybuilders, and even casual lifters strapping one on before heavy squats or deadlifts. But the big question remains: do weightlifting belts prevent injury, or are they just a psychological crutch? Let’s separate the facts from the myths and get a clearer picture of what these belts actually do.
What Is a Weightlifting Belt?
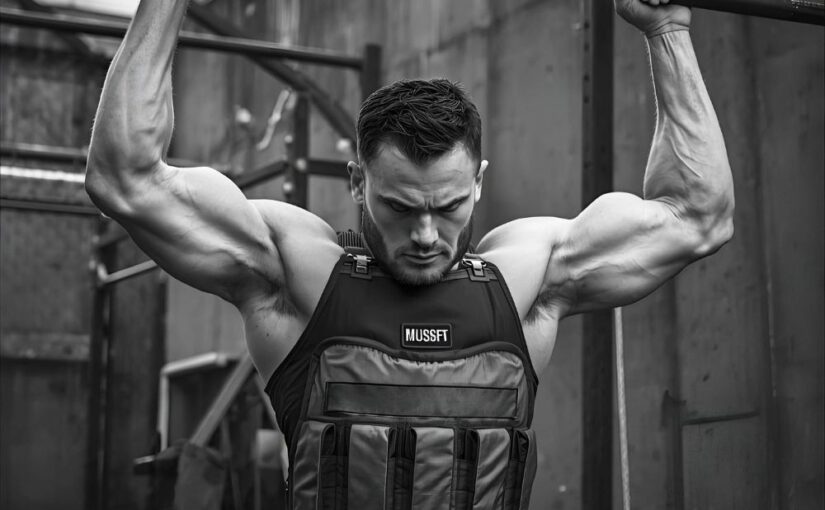
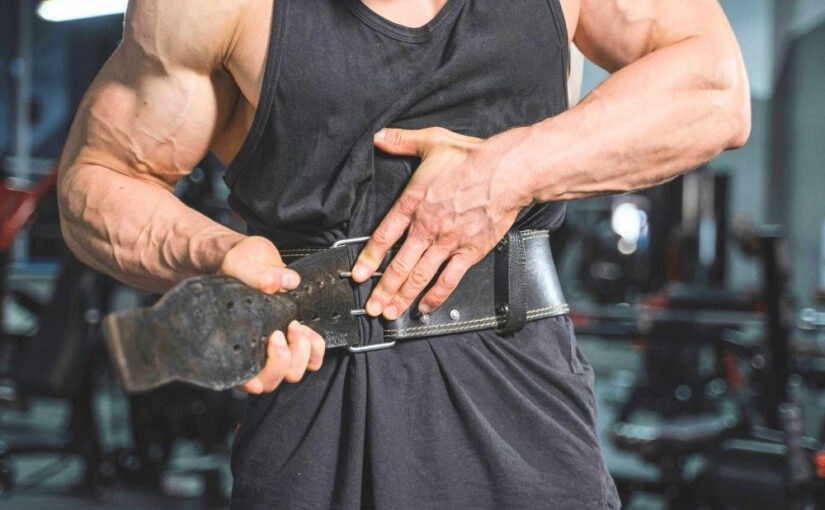
A weightlifting belt is a thick, sturdy belt typically made of leather or nylon, designed to be worn tightly around the waist during heavy lifts. Its primary purpose is to increase intra-abdominal pressure (IAP), providing added support to the lower back and spine.
But does that support translate into actual injury prevention? Let’s dive into the science.
The Science Behind Weightlifting Belts
To answer the question, do weightlifting belts prevent injury, we need to understand how they affect the body during lifting:
- Increased Intra-Abdominal Pressure: When you brace your core against the belt, you create more pressure in the abdominal cavity. This force functions as a natural support for your spine, alleviating the strain on your lower back when performing heavy lifts.
- Improved Biomechanics: Studies suggest that wearing a belt can help maintain a more upright torso during squats and deadlifts, reducing shear stress on the spine.
- Enhanced Performance: Research indicates that lifters can lift heavier weights when wearing a belt, likely due to improved stabilization and a perceived sense of safety.
Common Myths About Weightlifting Belts
Despite the benefits, numerous myths persist. Let’s debunk the most common ones.
Myth #1: Belts Weaken Your Core
A common misconception is that wearing a belt for an extended period can cause your core muscles to atrophy. In reality, proper belt use requires active bracing, which engages your core even more. The belt doesn’t do the work for you—it just gives your muscles something to brace against.
Myth #2: Belts Prevent All Injuries
Let’s be clear: a belt is not a magic shield. It won’t protect you from poor form, inadequate warm-ups, or lifting too much weight. Although it can decrease the likelihood of lower back injuries during maximum lifts, it does not ensure complete safety.
Myth #3: Everyone Should Wear One
If you’re not lifting near-maximal loads or you’re doing general fitness training, a belt may not be necessary. In fact, over-relying on a belt for light lifts can lead to poor technique and neglect of core development.
When to Use a Weightlifting Belt
So, do weightlifting belts prevent injury? They can—in the proper context. Here’s when using a belt makes sense:
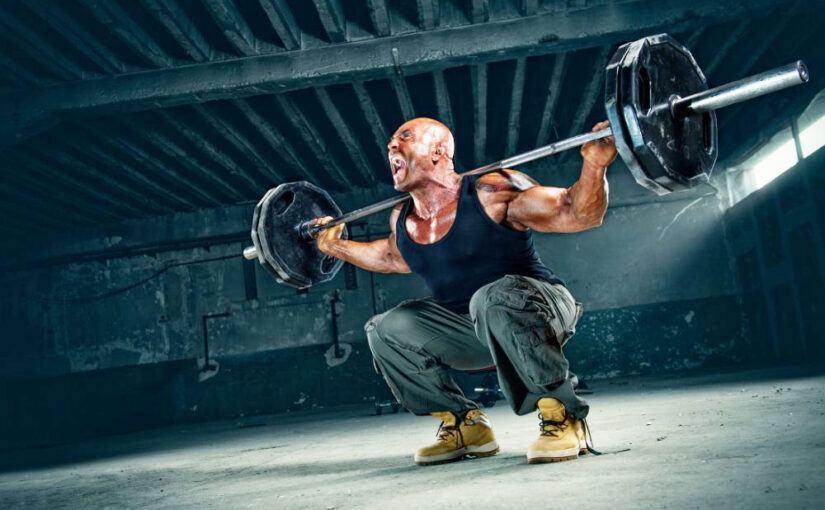
- Heavy Compound Lifts: Squats, deadlifts, overhead presses—especially at 80%+ of your 1RM.
- Maximal or Near-Max Efforts: When pushing your limits in strength training.
- Existing Back Issues: Under professional guidance, a belt may offer additional support.
However, beginners should focus on mastering form and building core strength before incorporating belts into their training.
Weightlifting Belts: At-a-Glance Comparison
| Aspect | Details |
|---|---|
| Main Benefit | Increases intra-abdominal pressure to support the spine |
| Best For | Heavy squats, deadlifts, overhead presses (80%+ of 1RM) |
| Injury Prevention Role | Helps stabilize core and spine, reducing injury risk under heavy loads |
| Common Misconception | Belts weaken your core or guarantee injury prevention |
| Should Beginners Use It? | Not recommended until proper form and core strength are developed |
| When to Avoid | Light lifting, machines, or conditioning workouts |
| Key Limitation | Doesn’t replace proper form, warm-up, or smart load progression |
Final Verdict: Do Weightlifting Belts Prevent Injury?
The answer is yes—with caveats. Weightlifting belts can help minimize the risk of injury during heavy lifts by providing spinal stability and promoting better lifting mechanics. However, they are not a substitute for proper technique, well-structured programming, or consistent core strength development.
Use them wisely—as a tool, not a crutch—and you’ll get the most benefit without compromising your long-term progress.
Frequently Asked Questions (FAQ)
Weightlifting belts can reduce injury risk during heavy lifts, but beginners should focus on proper form and core strength before using one.
No. Belts are best used for heavy compound lifts like squats and deadlifts. Using them for every workout can lead to over-reliance.
A belt may provide temporary support, but it’s not a fix for underlying issues. Always address pain with proper technique and medical advice.
They don’t increase muscle strength directly but can improve stability and confidence during heavy lifts, allowing you to lift more safely.
Leather belts are more rigid and durable, ideal for powerlifting. Nylon belts offer flexibility and are often preferred for Olympic or CrossFit-style lifting.