When building a home gym or choosing the right cardio equipment, many people wonder about the difference between air bike and exercise bike. While both options are great for improving endurance and cardiovascular health, they offer different features, resistance types, and training benefits. Understanding these differences can help you choose the best fit for your goals.
What Is the Main Difference?
The biggest difference between air bike and exercise bike is how resistance is generated.
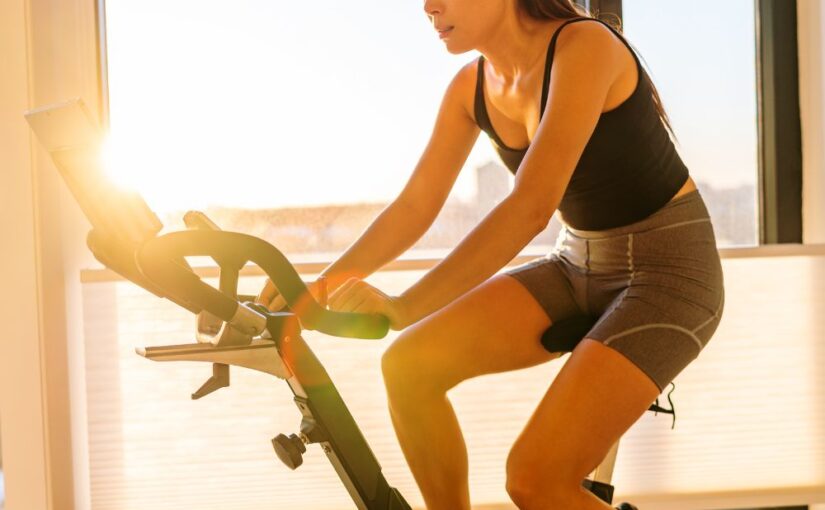
- Stationary bikes, often referred to as exercise bikes, usually rely on magnetic or friction-based systems to provide resistance. You set the resistance level manually, making it ideal for steady, low-impact cardio sessions.
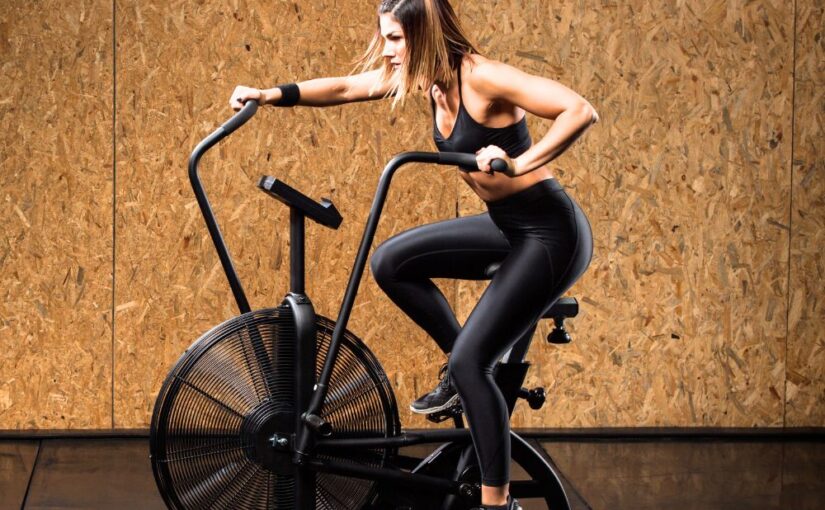
- Air bikes use a fan system where resistance increases as you pedal and push the handlebars harder. The faster you go, the more resistance you generate. This makes air bikes great for high-intensity interval training (HIIT) and full-body workouts.
Air Bike vs. Exercise Bike: Key Differences
| Feature | Air Bike | Exercise Bike |
|---|
| Resistance Type | Fan-based (effort-driven) | Magnetic or friction (manual setting) |
| Intensity Control | Automatic (based on effort) | Manual (set resistance level) |
| Muscle Engagement | Full-body (arms + legs) | Primarily lower body |
| Workout Style | HIIT, metabolic conditioning | Steady-state, low-impact cardio |
| Noise Level | Louder (fan noise) | Quieter (especially magnetic models) |
| Best For | Advanced users, short intense workouts | Beginners, long cardio sessions |
| Price Range | Generally higher | Wide range (more budget-friendly) |
Workout Style and Intensity
If you want a more controlled and consistent workout, an exercise bike is often the better choice. It’s great for:
- Long-distance cardio
- Recovery sessions
- Low-impact workouts for beginners or older adults
In contrast, air bikes automatically match resistance to exertion. This makes them ideal for:
- Short, intense bursts (HIIT)
- Full-body conditioning (arms and legs work together)
- Athletes or advanced fitness routines
Another key difference between an air bike and an exercise bike is how intensity is managed—manually on a standard bike versus automatically through effort on an air bike.
Noise, Space & Comfort
- Noise: The fan makes air bikes sound relatively louder. Exercise bikes, especially magnetic ones, are much quieter—ideal for apartments or shared spaces.
- Size & Portability: Air bikes tend to be bulkier and heavier. Exercise bikes often come in compact models and are easier to move.
- Comfort: Most exercise bikes feature cushioned, adjustable seating and built-in workout programs for added comfort and convenience.
Which One Should You Choose?
If your goal is steady, low-impact cardio or you’re just starting your fitness journey, an exercise bike is a solid choice.
If you’re looking for intense, full-body workouts or enjoy pushing your limits with HIIT, an air bike may be a better fit.
Budget and space are also factors. Exercise bikes tend to be more affordable and come in more compact models, while air bikes are often higher-priced but deliver greater intensity and versatility.
Conclusion
The difference between air bike and exercise bike comes down to resistance type, workout style, and intensity. Either machine can enhance cardiovascular health, promote calorie burn, and contribute to fat loss, though each serves different workout goals.
Choose an exercise bike for quiet, low-impact rides, or go with an air bike if you want to crank up the intensity and involve your upper body. Ultimately, the most effective bike is the one you’ll stick with regularly.
Frequently Asked Questions (FAQ)
The main difference lies in the resistance mechanism. Air bikes use a fan that increases resistance with effort, while exercise bikes use magnetic or friction resistance you adjust manually.
Both can support weight loss, but air bikes tend to burn more calories in less time due to full-body involvement and high-intensity potential.
Yes, air bikes tend to be more difficult because the resistance intensifies as you pedal and exert more force.
Yes, air bikes produce more noise due to the fan mechanism, while exercise bikes—especially magnetic ones—are much quieter.
Beginners can use air bikes, but the intensity may feel high at first. Starting with shorter sessions and gradually building up is recommended.
Recommended Products for Stationary Bikes and Air Bikes
If you’re considering adding a stationary bike or air bike to your fitness routine, it’s important to choose the right one based on your workout goals, available space, and budget. Both bikes provide distinct benefits, whether you’re after gentle cardio or challenging full-body workouts
Stationary Bikes
Stationary bikes are perfect for steady-state cardio, endurance training, and low-impact workouts. They tend to be quieter, more space-efficient, and feature adjustable resistance for personalized workout options.
Air Bikes
If an intense workout is what you’re after, an air bike might be the right choice. These bikes provide full-body workouts by engaging both your upper and lower body, and the resistance automatically adjusts based on your effort.
Affiliate Disclaimer:
The links above are affiliate links, meaning we may earn a small commission if you make a purchase through them, at no extra cost to you.