For many women, the first day of their period comes with cramps, fatigue, and mood swings. This often leads to a common question: Should you workout on the first day of your period? While conventional wisdom once suggested rest and minimal activity, new research and personal experiences are shifting the narrative. Let’s break down the science, the benefits, and what your body might actually need.
Understanding Your Body on Day One
The first day of your period marks the beginning of the menstrual phase in your cycle. At this time, hormone levels like estrogen and progesterone are at their minimum, which may result in:
- Lower energy levels
- Increased fatigue
- Menstrual cramps
- Mood changes
Because of this, it’s completely valid to ask: should you workout on the first day of your period, or is rest the better option?
Is It Safe to Exercise on the First Day of Your Period?
Yes, it is generally safe to exercise, even on day one. In fact, gentle movement can provide significant relief from menstrual symptoms. According to the American College of Obstetricians and Gynecologists, exercise can help ease cramping and improve mood by increasing endorphin levels.
However, safety depends on listening to your body. If your cramps are severe or you feel exhausted, opting for rest or low-impact movement might be a smarter choice than a high-intensity session.
Benefits of Working Out on Your Period
Here are a few benefits you might experience if you choose to move your body on the first day:
- Reduced bloating and cramps through increased blood flow
- Mood improvement from endorphin release
- Better sleep thanks to physical activity
- Improved circulation which may ease pain
So if you’re still wondering, should you workout on the first day of your period, the truth is: it could actually help you feel better.
Best Types of Exercise for the First Day of Your Period
If you decide to workout on day one, consider choosing forms of exercise that are gentle and restorative:
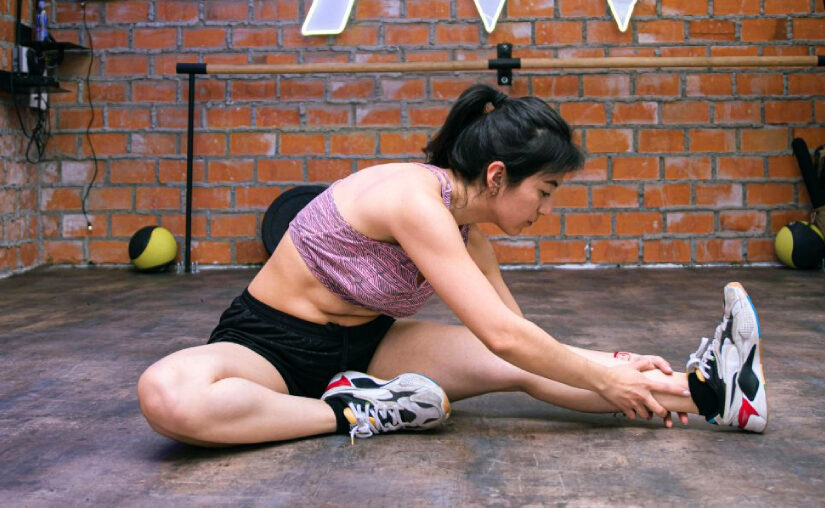
- Yoga (especially poses that relieve cramps)
- Walking at a moderate pace
- Stretching or mobility exercises
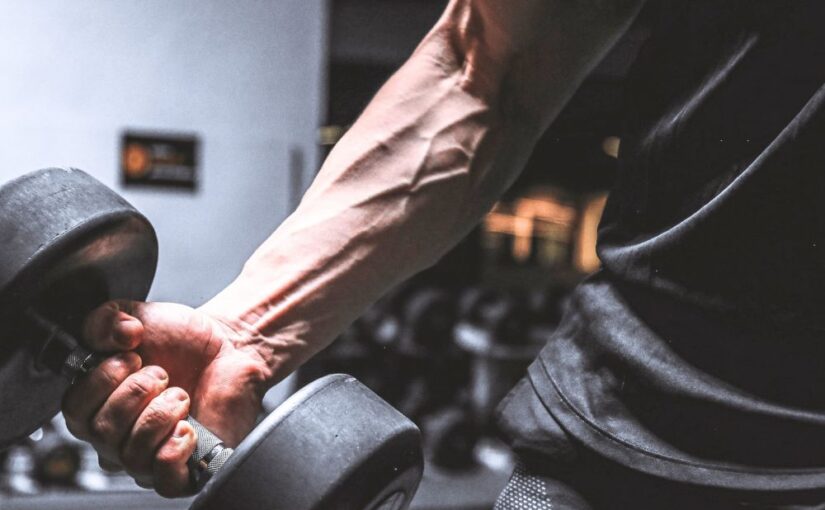
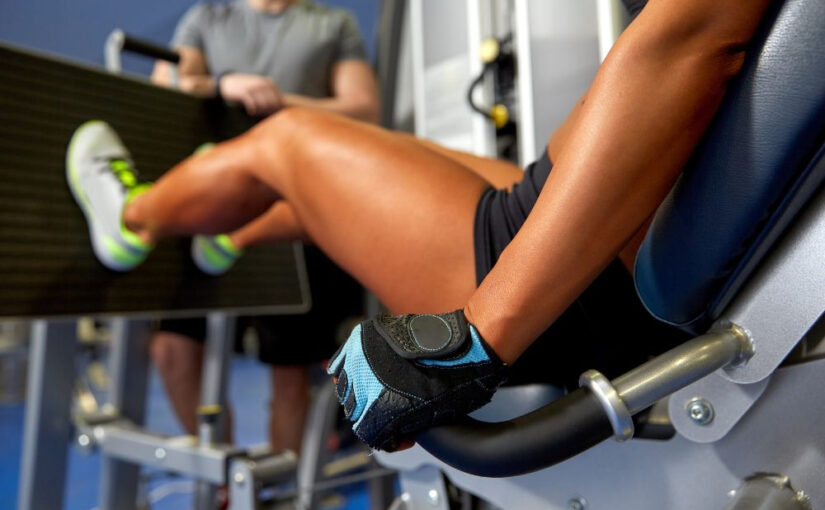
- Light strength training (if you feel up to it)
- Swimming for low-impact, full-body movement
Avoid pushing your body into intense cardio or heavy lifting unless you truly feel energized and capable.
When to Skip the Gym
Even though movement can help, sometimes your body just needs rest. You should consider skipping your workout if:
- You’re experiencing heavy bleeding or severe cramps
- You’re feeling dizzy, weak, or lightheaded
- You’re emotionally overwhelmed or highly fatigued
In these cases, taking the day off is a form of self-care, not laziness.
Listen to Your Cycle, Not the Pressure
There’s no one-size-fits-all answer to should you workout on the first day of your period. Your menstrual cycle is personal, and how you feel on day one can vary from month to month. The key is tuning into your body and honoring what it needs—whether that’s a power walk or a power nap.
Best Workouts on the First Day of Your Period: Quick Guide
| Type of Exercise | Intensity | Benefits | When to Choose It |
|---|---|---|---|
| Yoga | Low | Relieves cramps, reduces stress, promotes relaxation | When you feel bloated, crampy, or anxious |
| Walking | Low to Medium | Boosts circulation, eases cramps, improves mood | When you need gentle movement with minimal effort |
| Stretching | Low | Increases flexibility, reduces tension | When you’re too tired for a full workout |
| Swimming | Low to Medium | Soothes muscles, reduces joint stress | If you feel light and want full-body relief |
| Light Strength Training | Medium | Maintains muscle tone, boosts endorphins | When you feel energized but want to avoid cardio |
| Rest / No Workout | N/A | Allows recovery, respects fatigue | When cramps, fatigue, or discomfort are too strong |
Conclusion
So, should you workout on the first day of your period? The truth is, yes, you can—but it depends on how you’re feeling. Participating in light to moderate physical activity can alleviate cramps, enhance your mood, and increase your energy levels.However, if your body is asking for rest, it’s perfectly okay to skip the workout. Ultimately, honoring your cycle and practicing body awareness is the best fitness decision you can make.
Frequently Asked Questions (FAQ)
Yes, it’s generally safe to exercise during your period. In fact, physical activity can help reduce cramps, boost mood, and improve circulation. The key is to listen to your body and choose the type and intensity of exercise that feels right.
Gentle workouts like yoga, walking, stretching, and swimming are ideal during menstruation. These exercises support your body without putting too much strain on it, especially when you’re experiencing fatigue or cramps.
In most cases, exercise actually helps relieve cramps by increasing blood flow and releasing endorphins. However, if you overexert yourself or do high-impact movements while already in pain, it could temporarily make cramps feel worse.
During the initial days of menstruation, energy levels often decrease because of a reduction in estrogen and progesterone. This can result in feelings of tiredness and a decline in physical endurance, highlighting the need to modify exercise routines accordingly.
If you’re feeling unusually tired or uncomfortable, it’s completely okay to skip the gym and prioritize rest. Recovery is just as important as activity, especially when your body is going through hormonal changes.